
 I don't have a Cricut/ Silhouette Machine... YET! So I have to get super creative with the cards I make! I saw this idea for a Snowglobe Card and was SUPER inspired, if you can't tell! I think they turned out pretty well and I'm really excited about them!
Can you guess what you will need to make these!?
If you guessed that you're gonna need, 3D Stickers, Scrapbook/ Cardstock Paper, Double Sided Tape, Hot Glue, Glitter and Plastic Sheet Protectors, then you're correct! (By Plastic Sheets I mean these plastic sheet protectors you use for binders. I also used the plastic wrapping that my stickers came in with success!)
If you guessed that you're gonna need, 3D Stickers, Scrapbook/ Cardstock Paper, Double Sided Tape, Hot Glue, Glitter and Plastic Sheet Protectors, then you're correct! (By Plastic Sheets I mean these plastic sheet protectors you use for binders. I also used the plastic wrapping that my stickers came in with success!)
I'm sure you can guess how to assemble these super cute cards, but I'll do a short walk through! These got easier with each one I made!
 First you will need to choose two colors of cardstock for your card! One will be up front (I used white) and the other will be the background color (I used green).
The background color will be cut slightly larger for a nice border!
The top cardstock will need a big circle cut out of it for the snowglobe! Make sure your stickers will fit comfortably inside!
Don't glue anything just yet!
 With both papers layered correctly, but not yet glued, lay down your sticker where you want it in the snowglobe!
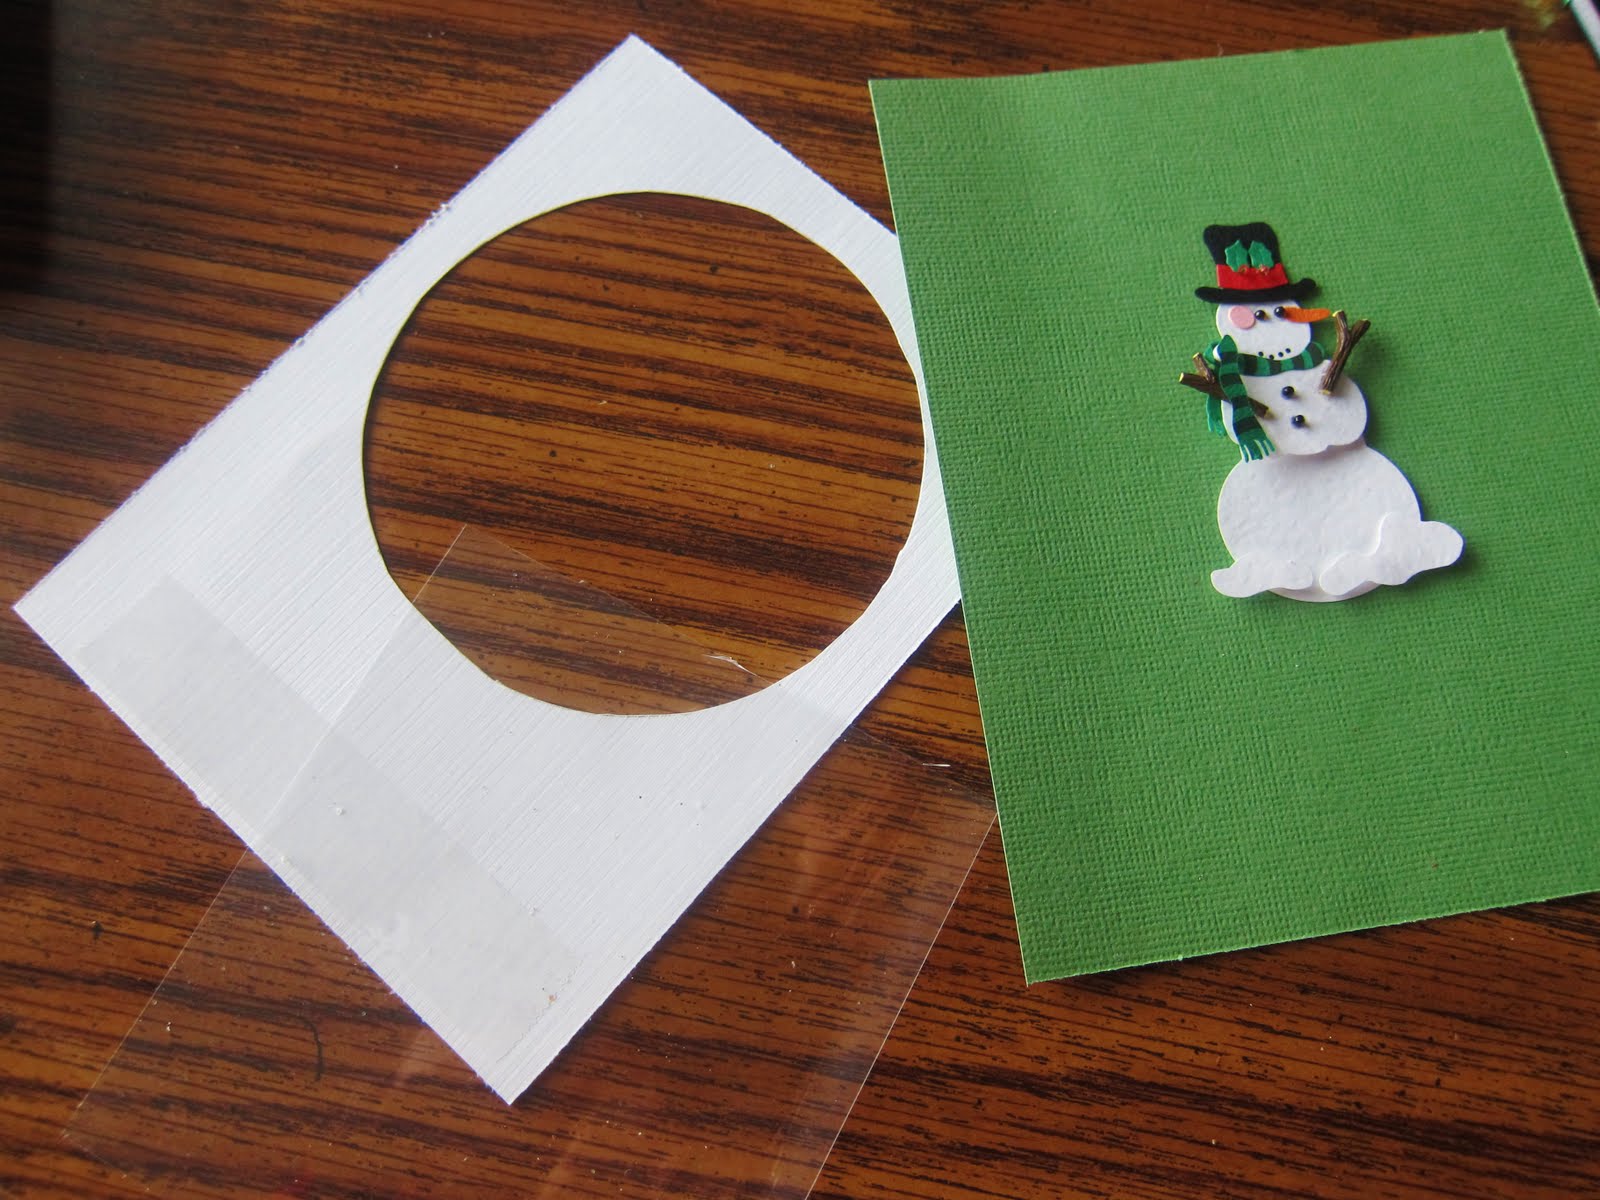 Now cut a piece from the Plastic Sheet to cover the hole! You will want about 1/4 inch over lap.
Glue the Plastic over the top cardstock (white) with a hot glue gun!
Use one strip of Double Sided Tape on the bottom of the card to get both sides to stick to one another. Remember, just on the bottom! (This is to keep the card in place while you glue around the snowglobe!)

Hot glue around the globe except for an inch at the very top! Be very meticulous because you don't want glitter to be falling out all over!
Now pour in the glitter! However much depends on you!
 Then use hot glue to seal up the top! The first few cards I made had a touch of crinkle at my seam, but I finally got the hang of it and the rest of my cards were crinkle free. =D
I used glitter paper to make the snowglobes base and then placed a sticker over it for a fun greeting!
VOILA! All finished!

Here are a few of the cards I made using this method!
 And a close up of a great one (crinkle free) I made!
No comments:
Post a Comment